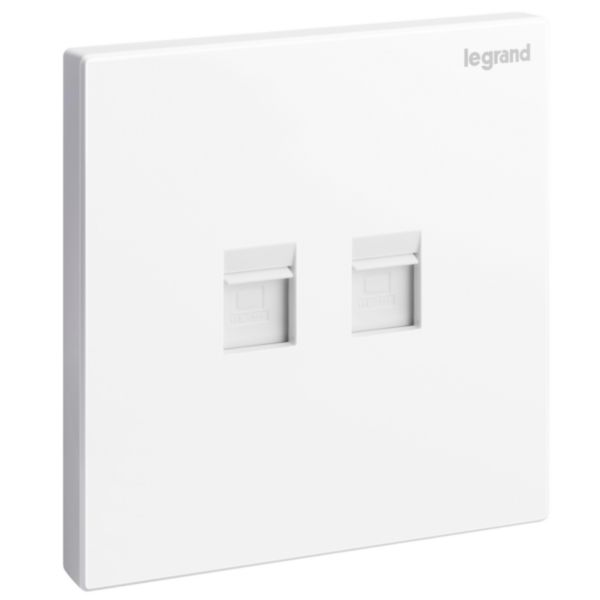
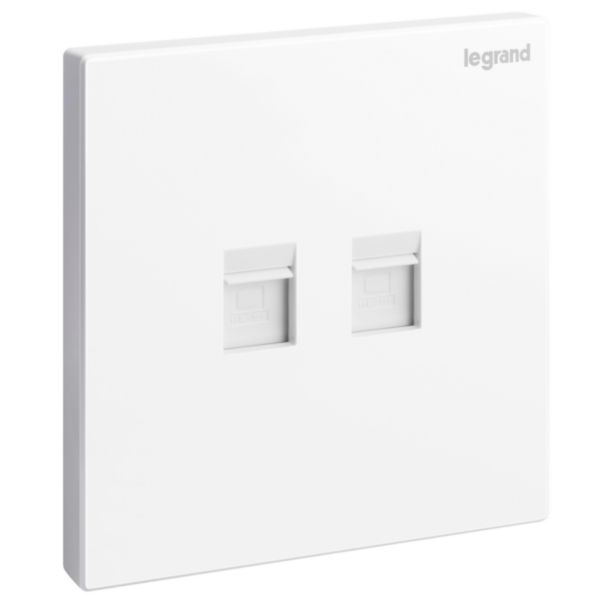
A data outlet (RJ45 double) is an electrical socket used to connect network devices, such as computers, printers, and routers, to a wired network. It is typically installed in the walls of buildings and is used to provide high-speed internet access and networking capabilities in homes, offices, and other locations. The outlet has two RJ45 sockets, which are used to connect Ethernet cables that carry data signals between devices.
The RJ45 sockets are designed to accommodate standard Ethernet cables with a maximum length of 100 meters and support data transfer rates of up to 1 gigabit per second (Gbps) or higher. The outlet is usually made of durable materials, such as plastic or metal, and is designed to withstand regular use and wear and tear. It may also feature a faceplate or cover that can be removed or replaced for easy installation and maintenance.
Features
- Compatible with a wide range of network cables, including Cat5e, Cat6, and Cat6a
- Making it easy to install and use
- The number of sockets available on the device
How to use
Step 1: Determine the location where you want to install the data outlet. This is usually in a room or area where a wired internet connection is needed.
Step 2: Before installing the outlet, make sure the power supply to the circuit is turned off. You can do this by turning off the circuit breaker or removing the fuse that supplies power to the circuit.
Step 3: Mark the spot on the wall where you want to install the outlet. Use a template to cut a rectangular hole in the wall at the marked spot to fit the mounting box.
Step 4: Securely attach the mounting box to the hole in the wall using screws.
Step 5: Inside the mounting box, there will be eight wires that need to be connected to the outlet: blue, blue/white, orange, orange/white, green, green/white, brown, and brown/white. Strip the ends of the wires and connect them to the corresponding terminals on the back of the outlet.
Step 6: Once the wires are connected, insert the outlet into the mounting box and secure it in place with screws.
Step 7: Turn the power back on and test the outlet by plugging in an Ethernet cable and checking for a connection.







 Showers & Hoses
 Construction Adhesives
 Construction Chemicals
 Adhesives / Sealants
 General Supplies
 Site Essentials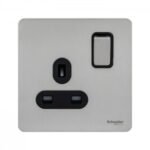
 Circuit Breakers
 Switches & Sockets
 Interior Wall Paint
 Interior Emulsion Paint
 Matt Finish Emulsion
 Silk Finish Emulsion
 Paint
Paint Spray Paints
 Primers & Sealers
 Angle Valves
 Faucet and Mixers
 Shattafs
 Shower Set