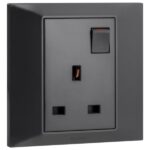
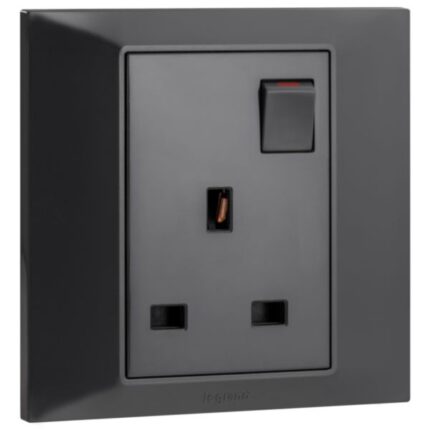
A 13 A single switched socket with LED is an electrical outlet that is similar to a standard 13 A single switched socket but also features a built-in LED indicator. The LED light provides a visual indication of the socket’s on/off status, making it easier to identify whether the socket is currently in use or not. The LED indicator is typically located on the switch itself and emits a low-level light that is visible even in low-light conditions. This feature can be particularly useful when the socket is located in a hard-to-reach area or in a dimly lit room.
The socket is usually made of durable materials, such as plastic or metal, and is designed to withstand regular use and wear and tear. The socket also has a grounding pin to ensure that the connected device is grounded, which is an important safety feature that protects against electric shock.
Features
- Designed to provide a safe and reliable connection to the earth
- Allow for easy installation into a wall or other suitable surface
- Easy connection to the mains supply and to the device that needs power
How to use
Step 1: Before installing or replacing the socket, make sure the power supply to that particular circuit is turned off. You can do this by turning off the circuit breaker or removing the fuse that supplies power to the circuit.
Step 2: Decide on the location where you want to install the socket. This is typically installed on a wall where a power outlet is needed.
Step 3: If you are replacing an old socket, remove it from the wall by unscrewing the screws that hold it in place. Gently pull the socket out of the wall to reveal the wires behind it.
Step 4: The socket will have three terminals labelled “L,” “N,” and “E.” Connect the incoming “live” (usually brown or red) and “neutral” (usually blue or black) wires and the earth wire (usually green or yellow/green) to the corresponding terminals. It is important to make sure the wires are connected securely and correctly to ensure safety and proper functionality. Additionally, connect the LED indicator wires to the corresponding terminals, which are usually marked “+” and “-“.
Step 5: Once the wires are connected, push the socket back into the wall and secure it in place with screws.
Step 6: Once the socket is installed, turn the power supply back on and test the socket to make sure it is working properly. You can do this by plugging in a device and turning on the switch to supply power to the socket. The LED indicator light should also light up when the switch is turned on, indicating that the power supply to the socket is on.


 Showers & Hoses
 Construction Adhesives
 Construction Chemicals
 Adhesives / Sealants
 General Supplies
 Site Essentials
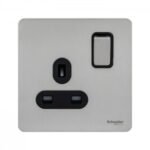
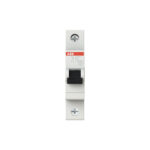 Circuit Breakers
 Interior Wall Paint
 Interior Emulsion Paint
 Matt Finish Emulsion
 Silk Finish Emulsion
 Paint
Paint Spray Paints
 Primers & Sealers
 Angle Valves
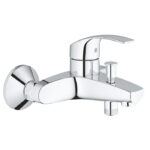 Faucet and Mixers
 Shattafs
 Shower Set