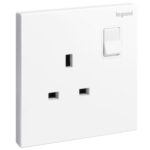
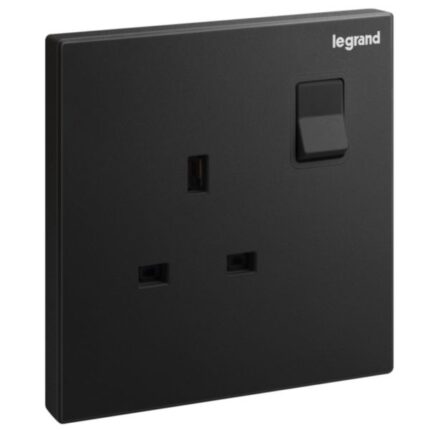
The Galion 1 Gang BS Switched Single Pole Socket Outlet with Power Indicator – 13A is a high-quality electrical accessory designed for both functionality and safety. Here’s a detailed description of its features:
1 Gang Design: This socket outlet is a single-unit (1 gang) design, making it compact and suitable for standard electrical installations.
Switched Single Pole: It features a single-pole switch, allowing you to control the power supply to the socket. This ensures safe and convenient operation, as you can easily turn the socket on or off as needed.
BS Standard Compliance: The socket complies with British Standard (BS) regulations, ensuring it meets safety and performance requirements for use in the UK and other regions following BS standards.
13A Rating: It is rated for 13 amps, making it suitable for powering a wide range of household appliances and devices.
Power Indicator: The built-in power indicator light provides a visual confirmation when the socket is live, enhancing safety and convenience.
Durable Construction: Made from high-quality materials, the socket is designed for long-lasting performance and reliability.
Aesthetic Design: The socket features a sleek and modern design, making it suitable for residential, commercial, or industrial settings.
Easy Installation: It is designed for easy installation, with clear terminal markings and secure screw connections.
Features
- Designed to provide a safe and reliable connection to the earth
- Allow for easy installation into a wall or other suitable surface
- Easy connection to the mains supply and to the device that needs power
How to use
Step 1: Before installing or replacing the socket, make sure the power supply to that particular circuit is turned off. You can do this by turning off the circuit breaker or removing the fuse that supplies power to the circuit.
Step 2: Decide on the location where you want to install the socket. This is typically installed on a wall where a power outlet is needed.
Step 3: If you are replacing an old socket, remove it from the wall by unscrewing the screws that hold it in place. Gently pull the socket out of the wall to reveal the wires behind it.
Step 4: The socket will have three terminals labelled “L,” “N,” and “E.” Connect the incoming “live” (usually brown or red) and “neutral” (usually blue or black) wires and the earth wire (usually green or yellow/green) to the corresponding terminals. It is important to make sure the wires are connected securely and correctly to ensure safety and proper functionality. Additionally, connect the LED indicator wires to the corresponding terminals, which are usually marked “+” and “-“.
Step 5: Once the wires are connected, push the socket back into the wall and secure it in place with screws.
Step 6: Once the socket is installed, turn the power supply back on and test the socket to make sure it is working properly. You can do this by plugging in a device and turning on the switch to supply power to the socket. The LED indicator light should also light up when the switch is turned on, indicating that the power supply to the socket is on.